In today’s fast-paced and safety-conscious world, protecting your loved ones and enhancing your sporting infrastructure go hand in hand. Whether you’re safeguarding a balcony in a high-rise apartment or setting up a professional cricket training space, Thirumala Safety Nets and Best Cricket Net Installation Services offer the perfect combination of safety and quality.
Known for reliability, durability, and top-notch service, Thirumala Safety Nets has emerged as a leading provider of safety nets and sports netting solutions across India. If you’re looking for safety nets for residential use or want to set up a cricket practice area at home or in an academy, you’ve come to the right place.
Why Choose Thirumala Safety Nets?
Thirumala Safety Nets and Best Cricket Net Installation Services is not just a brand; it’s a name that families and sports centers trust. With years of experience, the company has earned a reputation for delivering high-quality products and services tailored to specific customer needs.
Key Safety Products Offered:
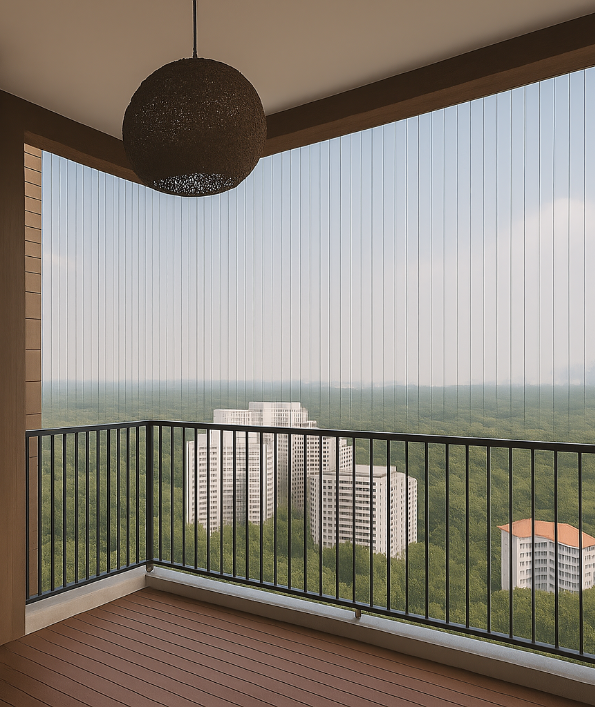
Balcony Safety Nets
Anti-Bird Nets
Children Safety Nets
Construction Safety Nets
Staircase & Duct Area Nets
Invisible Grills
Sports Nets including Cricket, Football, and Volleyball
Whether you’re a homeowner worried about your child’s safety on a high-rise balcony or an academy coach looking to install quality cricket nets, Thirumala has a solution for you.
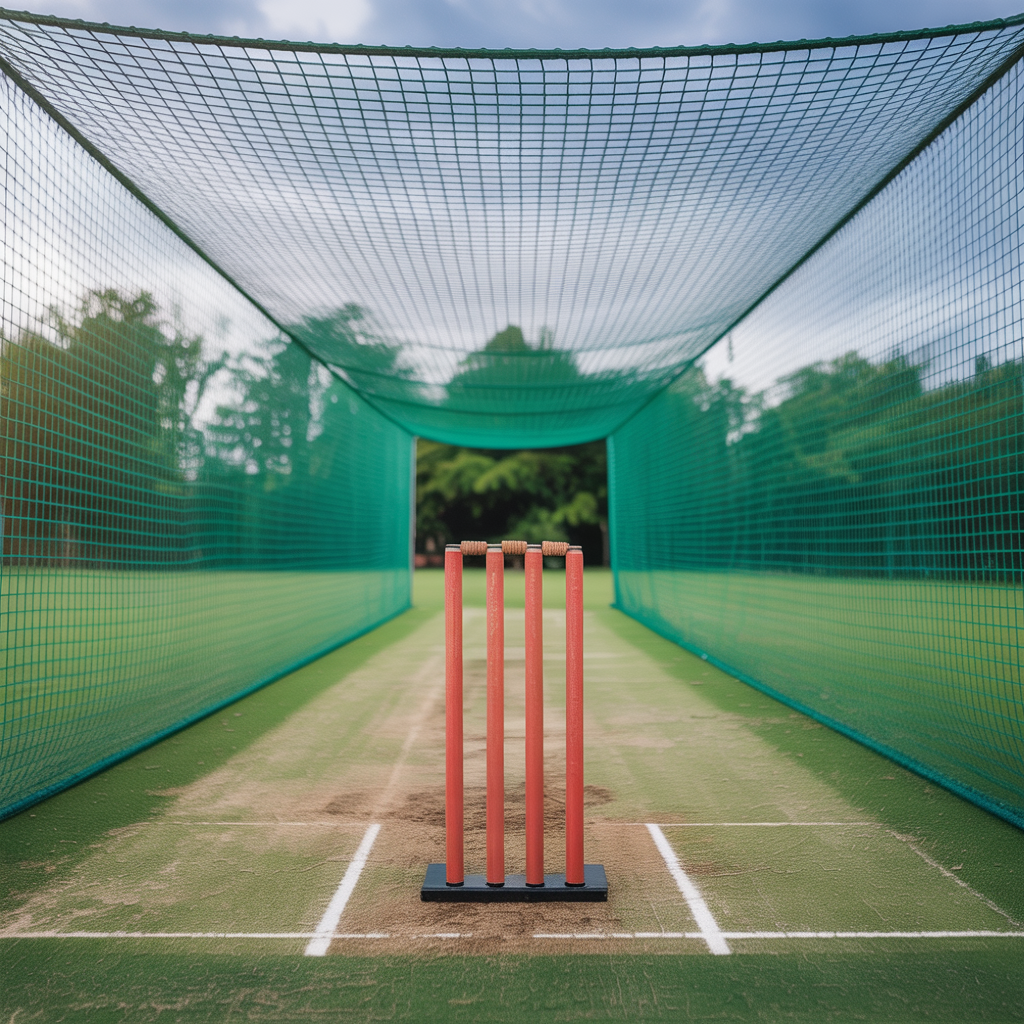
Best Cricket Net Installation Services by Thirumala
In India, cricket is more than a game—it’s a passion that starts young. For aspiring players, consistent practice in a safe and well-equipped environment is essential. That’s where Thirumala Safety Nets and Best Cricket Net Installation
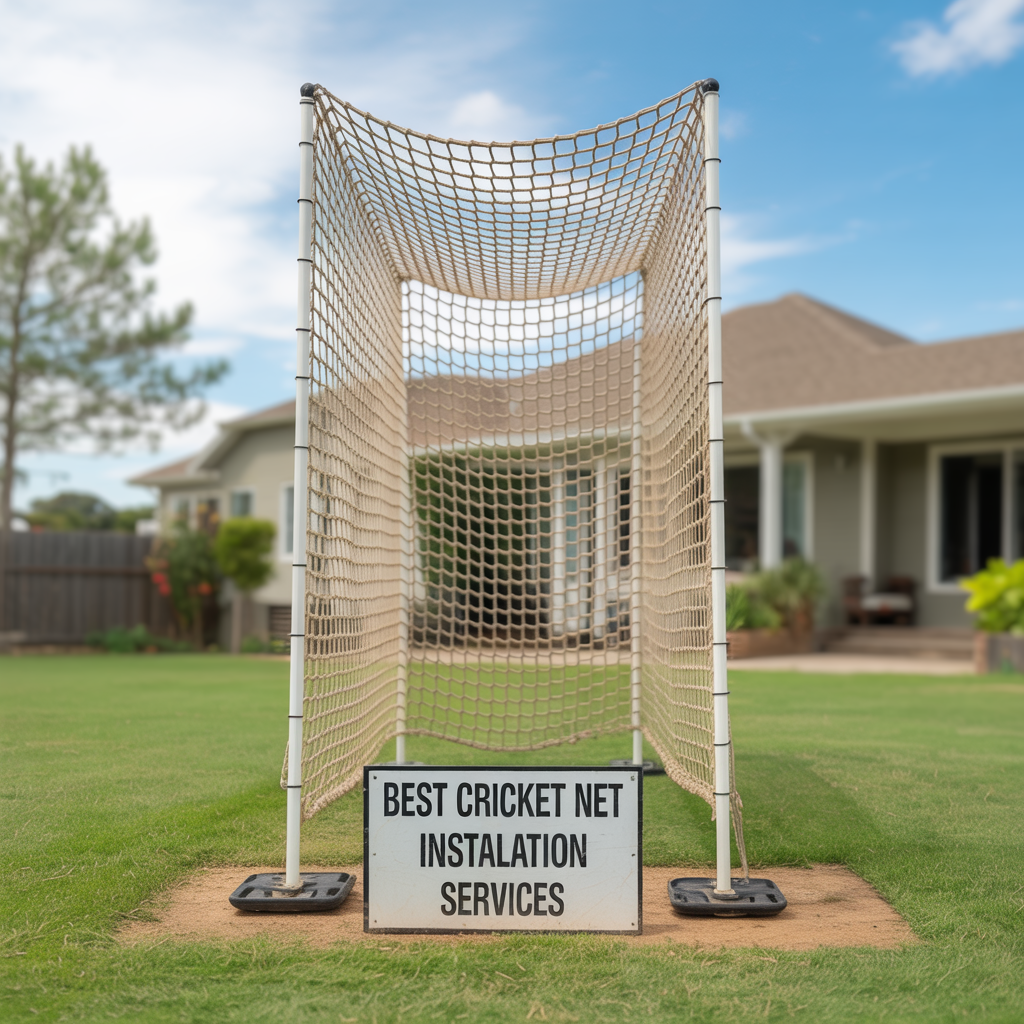
Why Choose Their Cricket Nets?
Custom Design & Installation
Every space is different. Whether you have a large academy ground or a small backyard at home, Thirumala offers custom designs that make the best use of your area.High-Quality Materials
Nets are made from UV-stabilized, weatherproof nylon or HDPE, ensuring long life and durability even under harsh weather conditions.Safety First
Proper anchoring, pole support, and strong netting make sure the players and surroundings remain safe during practice sessions.Professional Team
The experienced installation team ensures accurate fitting, minimal disruption, and a professional finish.Affordable Pricing
Top-notch quality doesn’t have to come with a high price. Thirumala ensures competitive rates with no compromise on service
Services come in, offering high-quality, long-lasting, and budget-friendly cricket net installations.
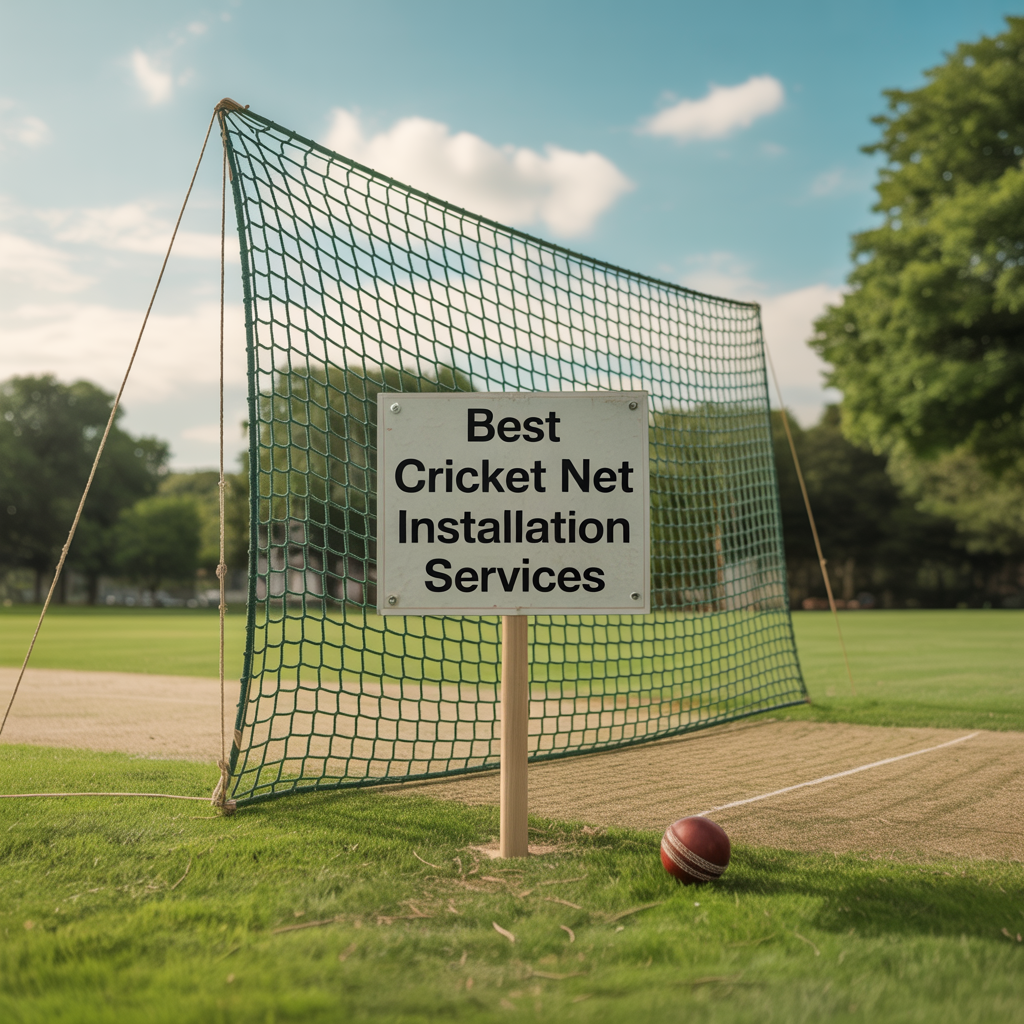
Perfect for Homes, Schools, Academies, and More
The versatility of Thirumala Safety Nets and Best Cricket Net Installation Services makes them ideal for various settings, such as:
Residential Apartments & Villas
Sports Academies & Grounds
Schools & Colleges
Commercial Buildings
Community Parks
Rooftop Areas
Whether it’s securing a balcony for a toddler or setting up a cricket practice pitch for young athletes, Thirumala provides tailor-made solutions that fit your budget and requirements.
Conclusion:
One Name for Safety and Sports—Thirumala
From home safety to sports training infrastructure, Thirumala Safety Nets and Best Cricket Net Installation Services offer the best of both worlds. Their products are not only functional and reliable but also align with the modern aesthetic requirements of today’s homes and academies.
If you’re in search of top-quality safety net solutions or a cricket practice net setup that stands the test of time, trust the experts at Thirumala.